This guide will walk you through everything you need to know about Base Stations 1.0 vs. 2.0.
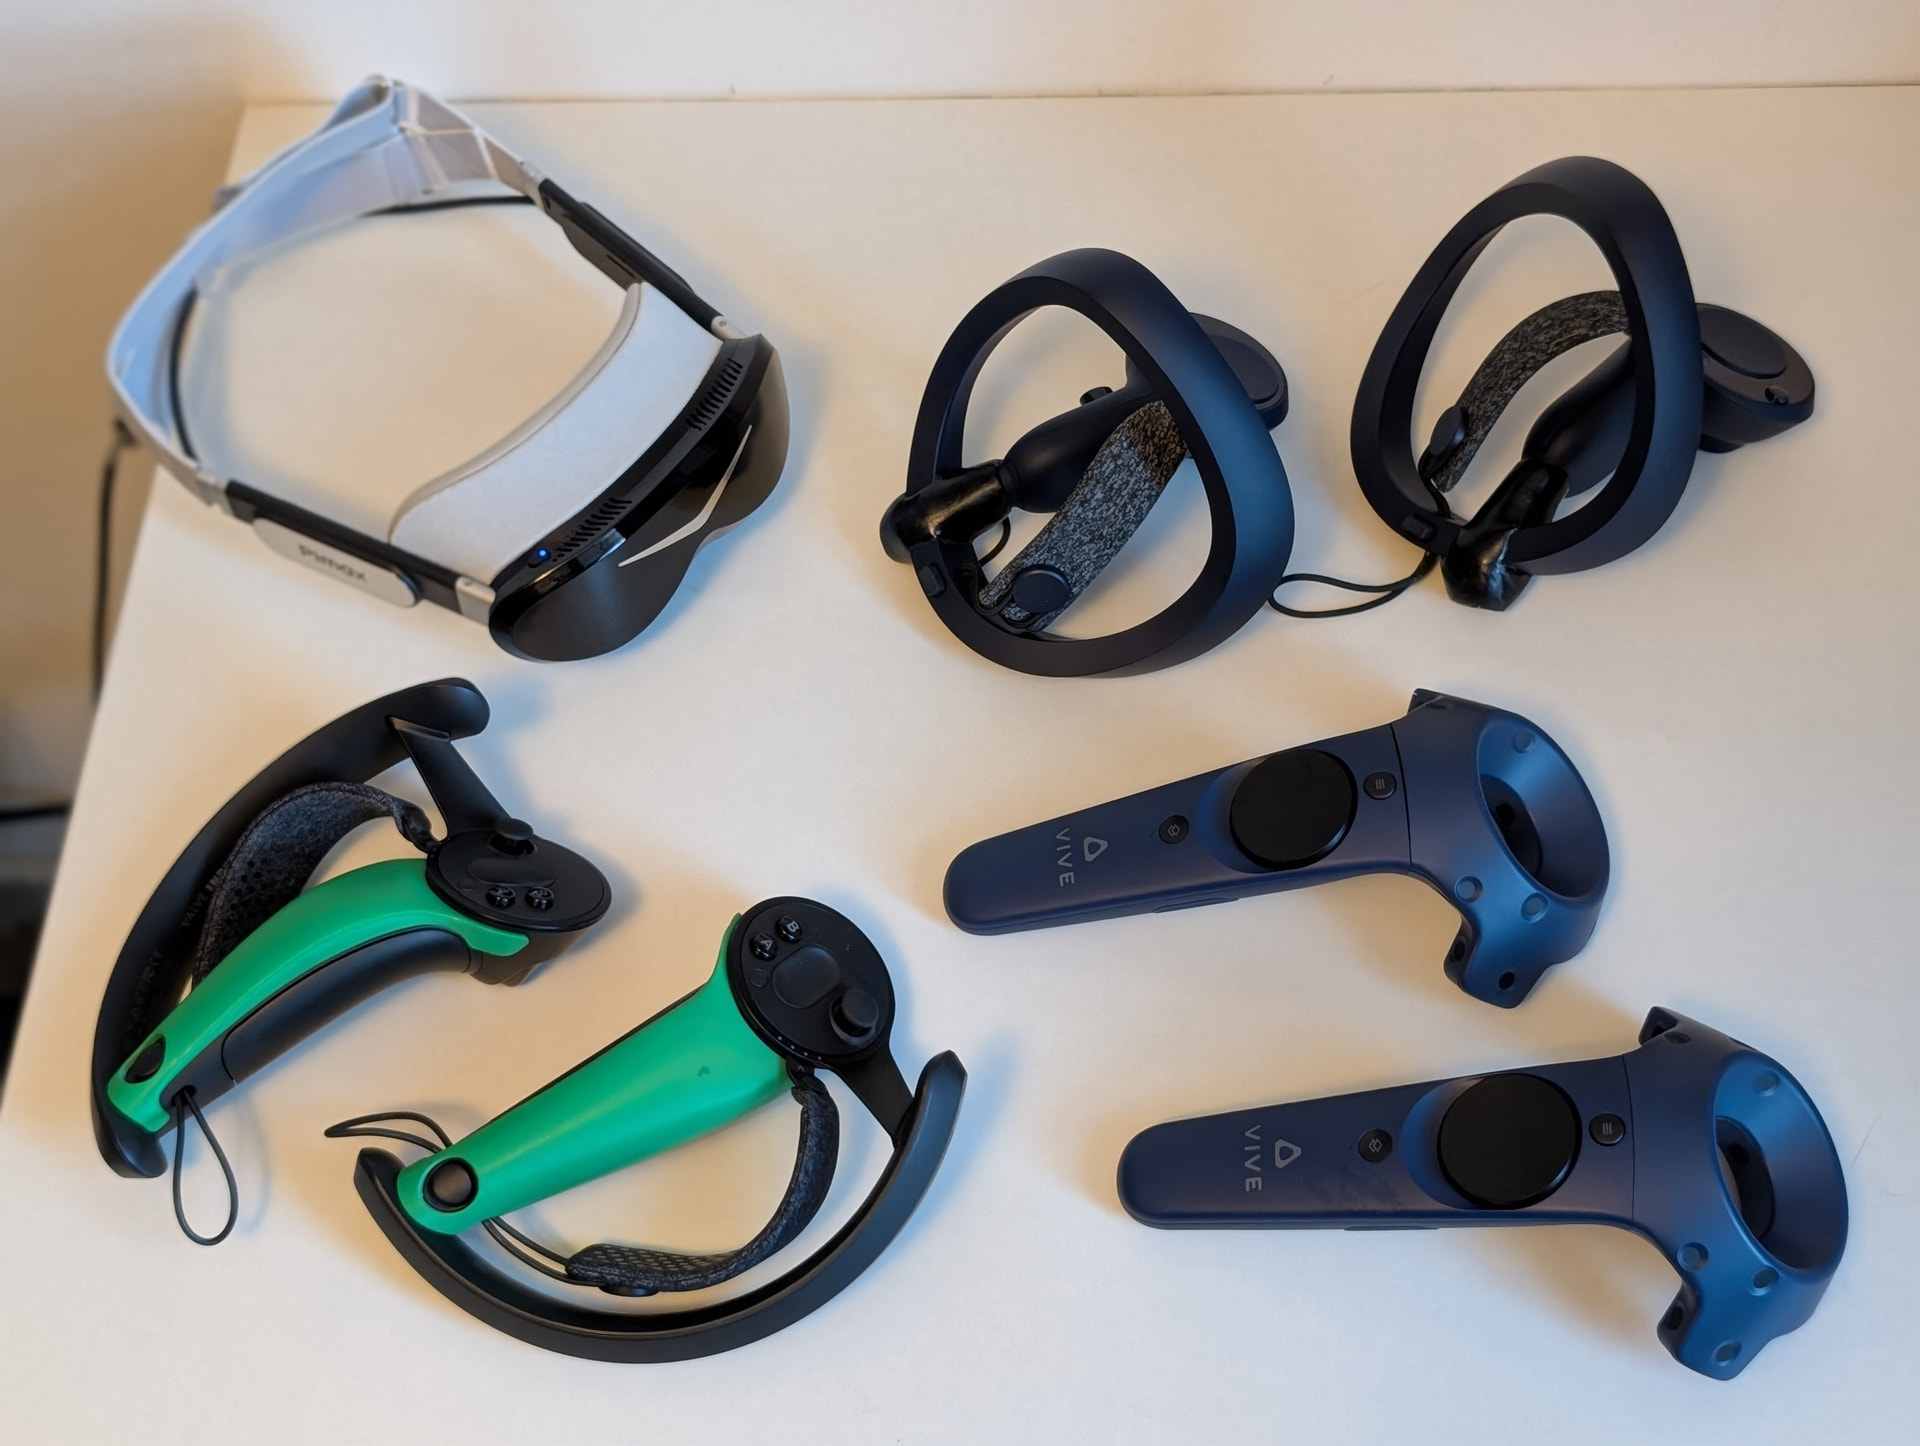
Before you drill holes in your walls or buy tripods, you need to know which hardware you’re holding.
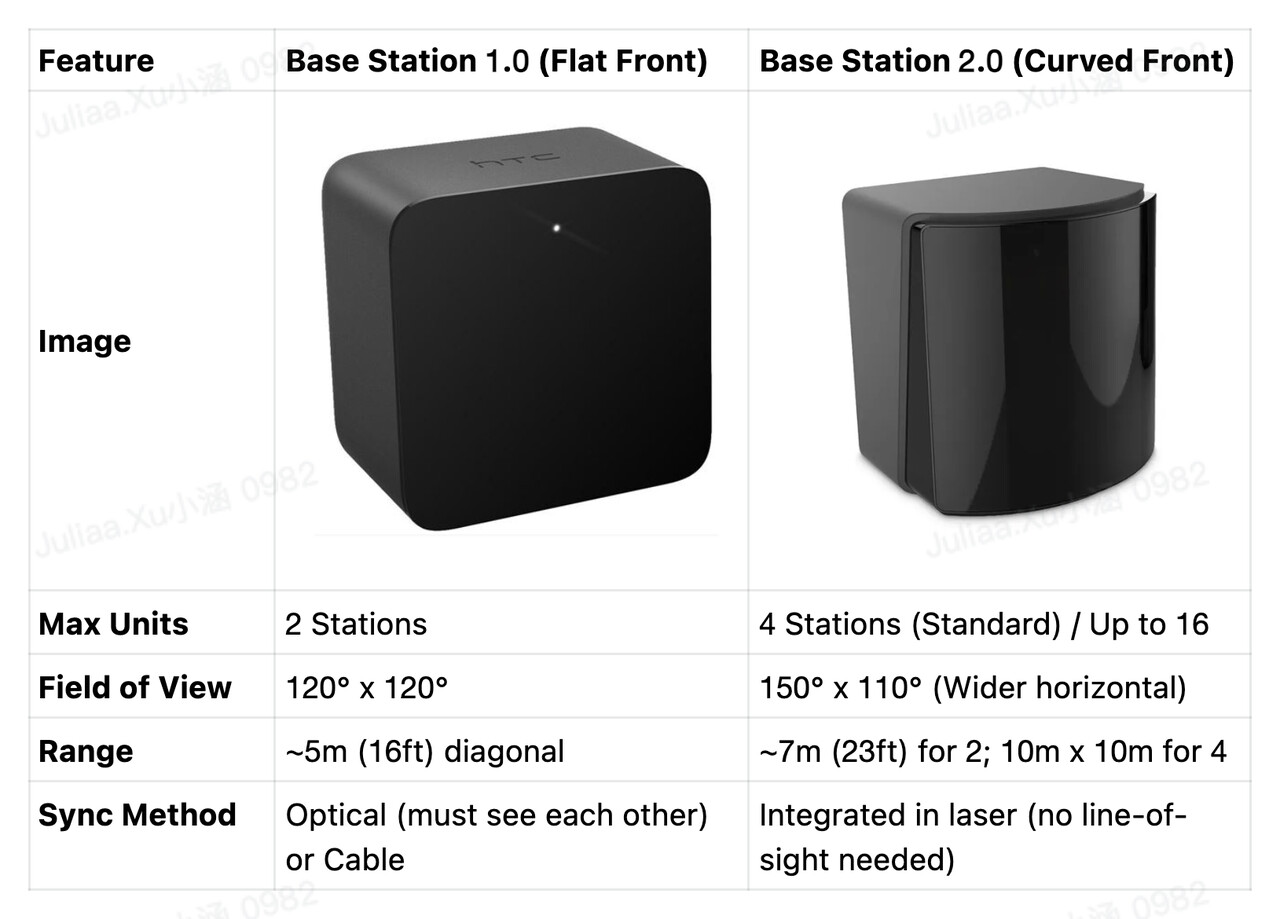
Crucial Note: You cannot mix 1.0 and 2.0 base stations in the same setup.
-
1 Base : If you are strictly seated in a cockpit, one station mounted directly in front of you is often enough. It allows you to “lean” into your mirrors and gauges with zero drift.
-
2 Bases: The standard. Place these in opposite corners. This provides 360° coverage for most titles.
-
3-4 Bases: If you use Full Body Tracking or find yourself losing tracking when you reach for the floor, adding a 3rd or 4th station virtually eliminates “occlusion” (when your body blocks the laser).
Common Rules for All Setups:
-
Height: Mount them at or above head height (ideally 2m / 6.5ft).
-
Angle: Tilt them down 30°–45° toward the center of your play area.
-
Reflections: Cover mirrors, glass doors, or TV screens, as they confuse lasers.
If you have 1 Base (Seated Only)
-
Placement: Directly in front of you, slightly above eye level.
-
1.0 Setup: Press the button on the back until the channel shows “A”.
-
2.0 Setup: No special channel needed; it will just work on its default.
If you have 2 Bases (Standard Room-Scale)
-
Placement: Opposite corners of your play area, facing each other.
-
1.0 Setup:
-
Wireless Sync: Set one to “b” and the other to “c”. They must have a clear line of sight to each other.
-
Cabled Sync: If they can’t see each other, use the long sync cable and set them to “A” and “b”.
-
-
2.0 Setup:
-
Plug them all in.
-
Open SteamVR > Settings > Base Station > Configure Base Station Channels.
-
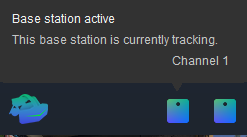
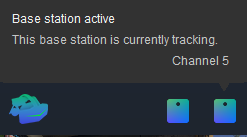
Ensure each station is on a unique channel (e.g., 1, 5). SteamVR can auto-assign these via Bluetooth. They do not need to see each other.
-
If you have 3 or 4 Bases (2.0 Only)
-
Placement: For 4 bases, place one in each corner of a square/rectangle. For 3, place them in a triangle.
-
Setup: Same as above 2 bases for 2.0 setup and ensure each station is on a unique channel (e.g., 1, 2, 3, 4).
-
In case you want to swap the channels, press the small pinhole button on the back of the device while it is powered on.
For the Dream Air Series (Dream Air / Dream Air SE)
The Dream Air series streamlines the process, but you must ensure you have the correct hardware version.
-
Confirm you have the Dream Air Lighthouse version.
-
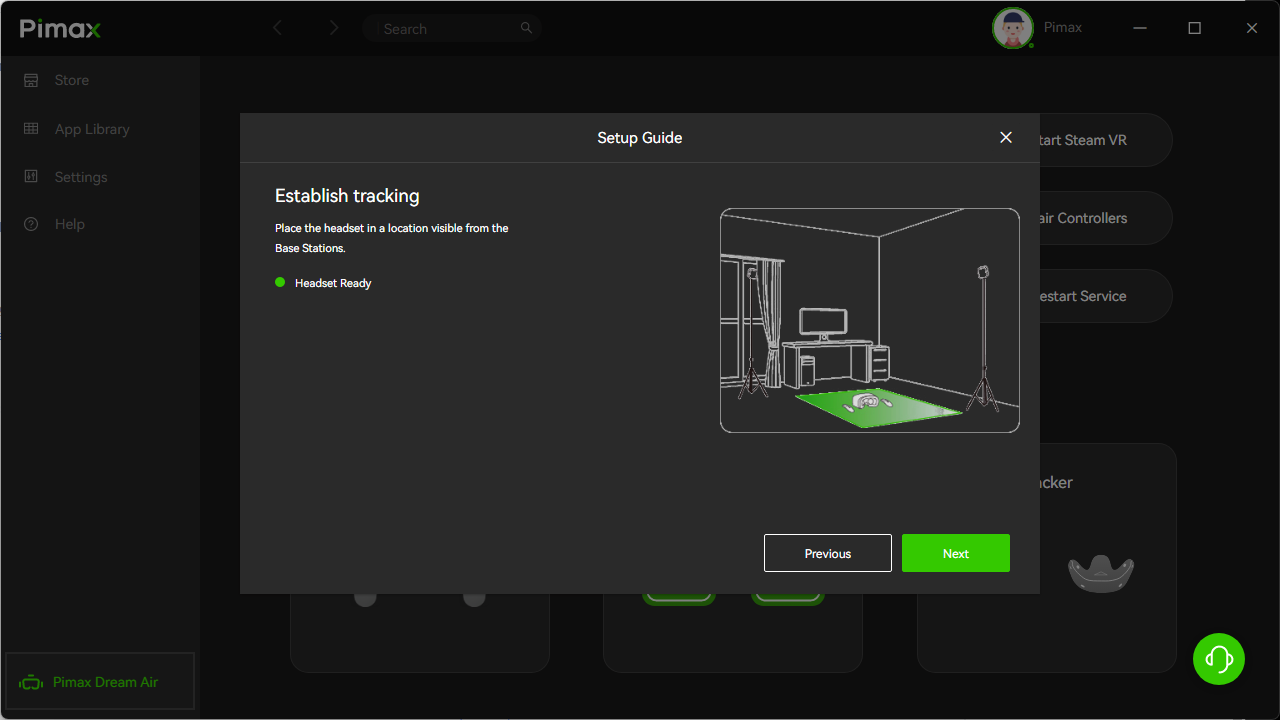
Simply connect your headset to your PC. Pimax Play will automatically recognize the tracking mode.
-
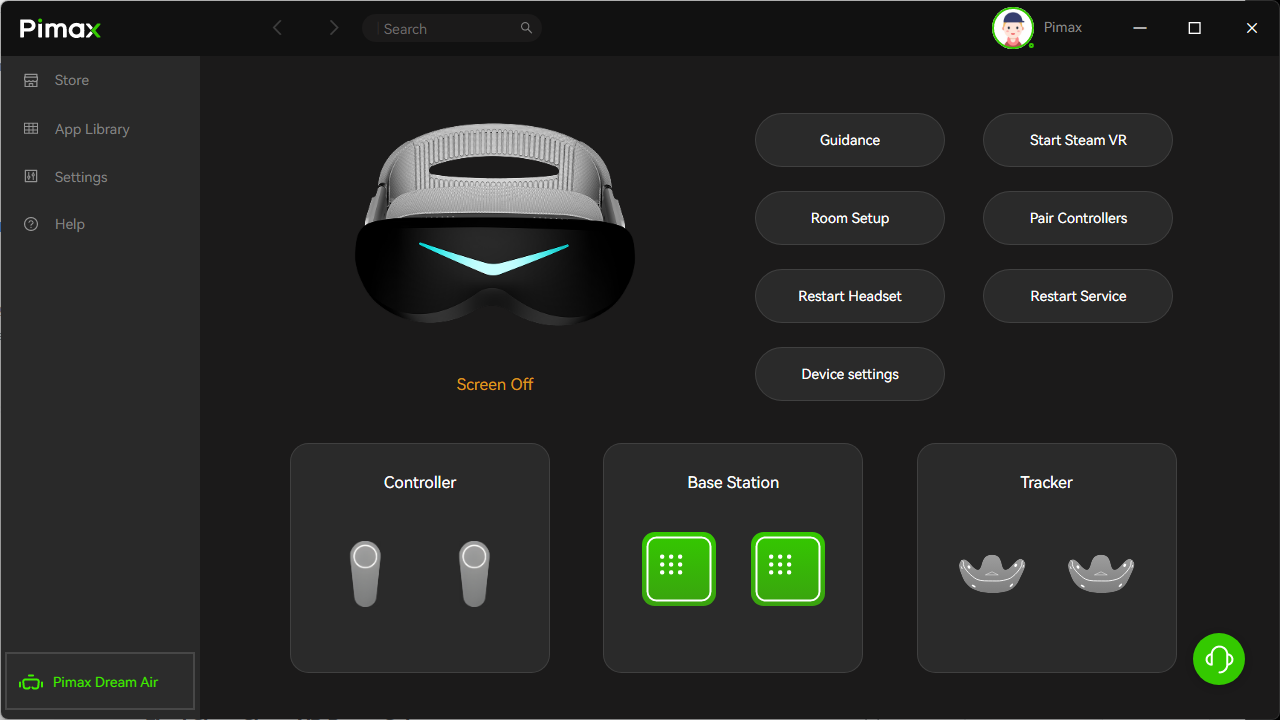
Just like the Crystal, a successful connection will be indicated by the Base Station icon lighting up in the Pimax Play interface.
For the Crystal Series (Crystal / Crystal Light / Crystal Super)
The Crystal series is modular, meaning you need to ensure the hardware and software are in sync.
-
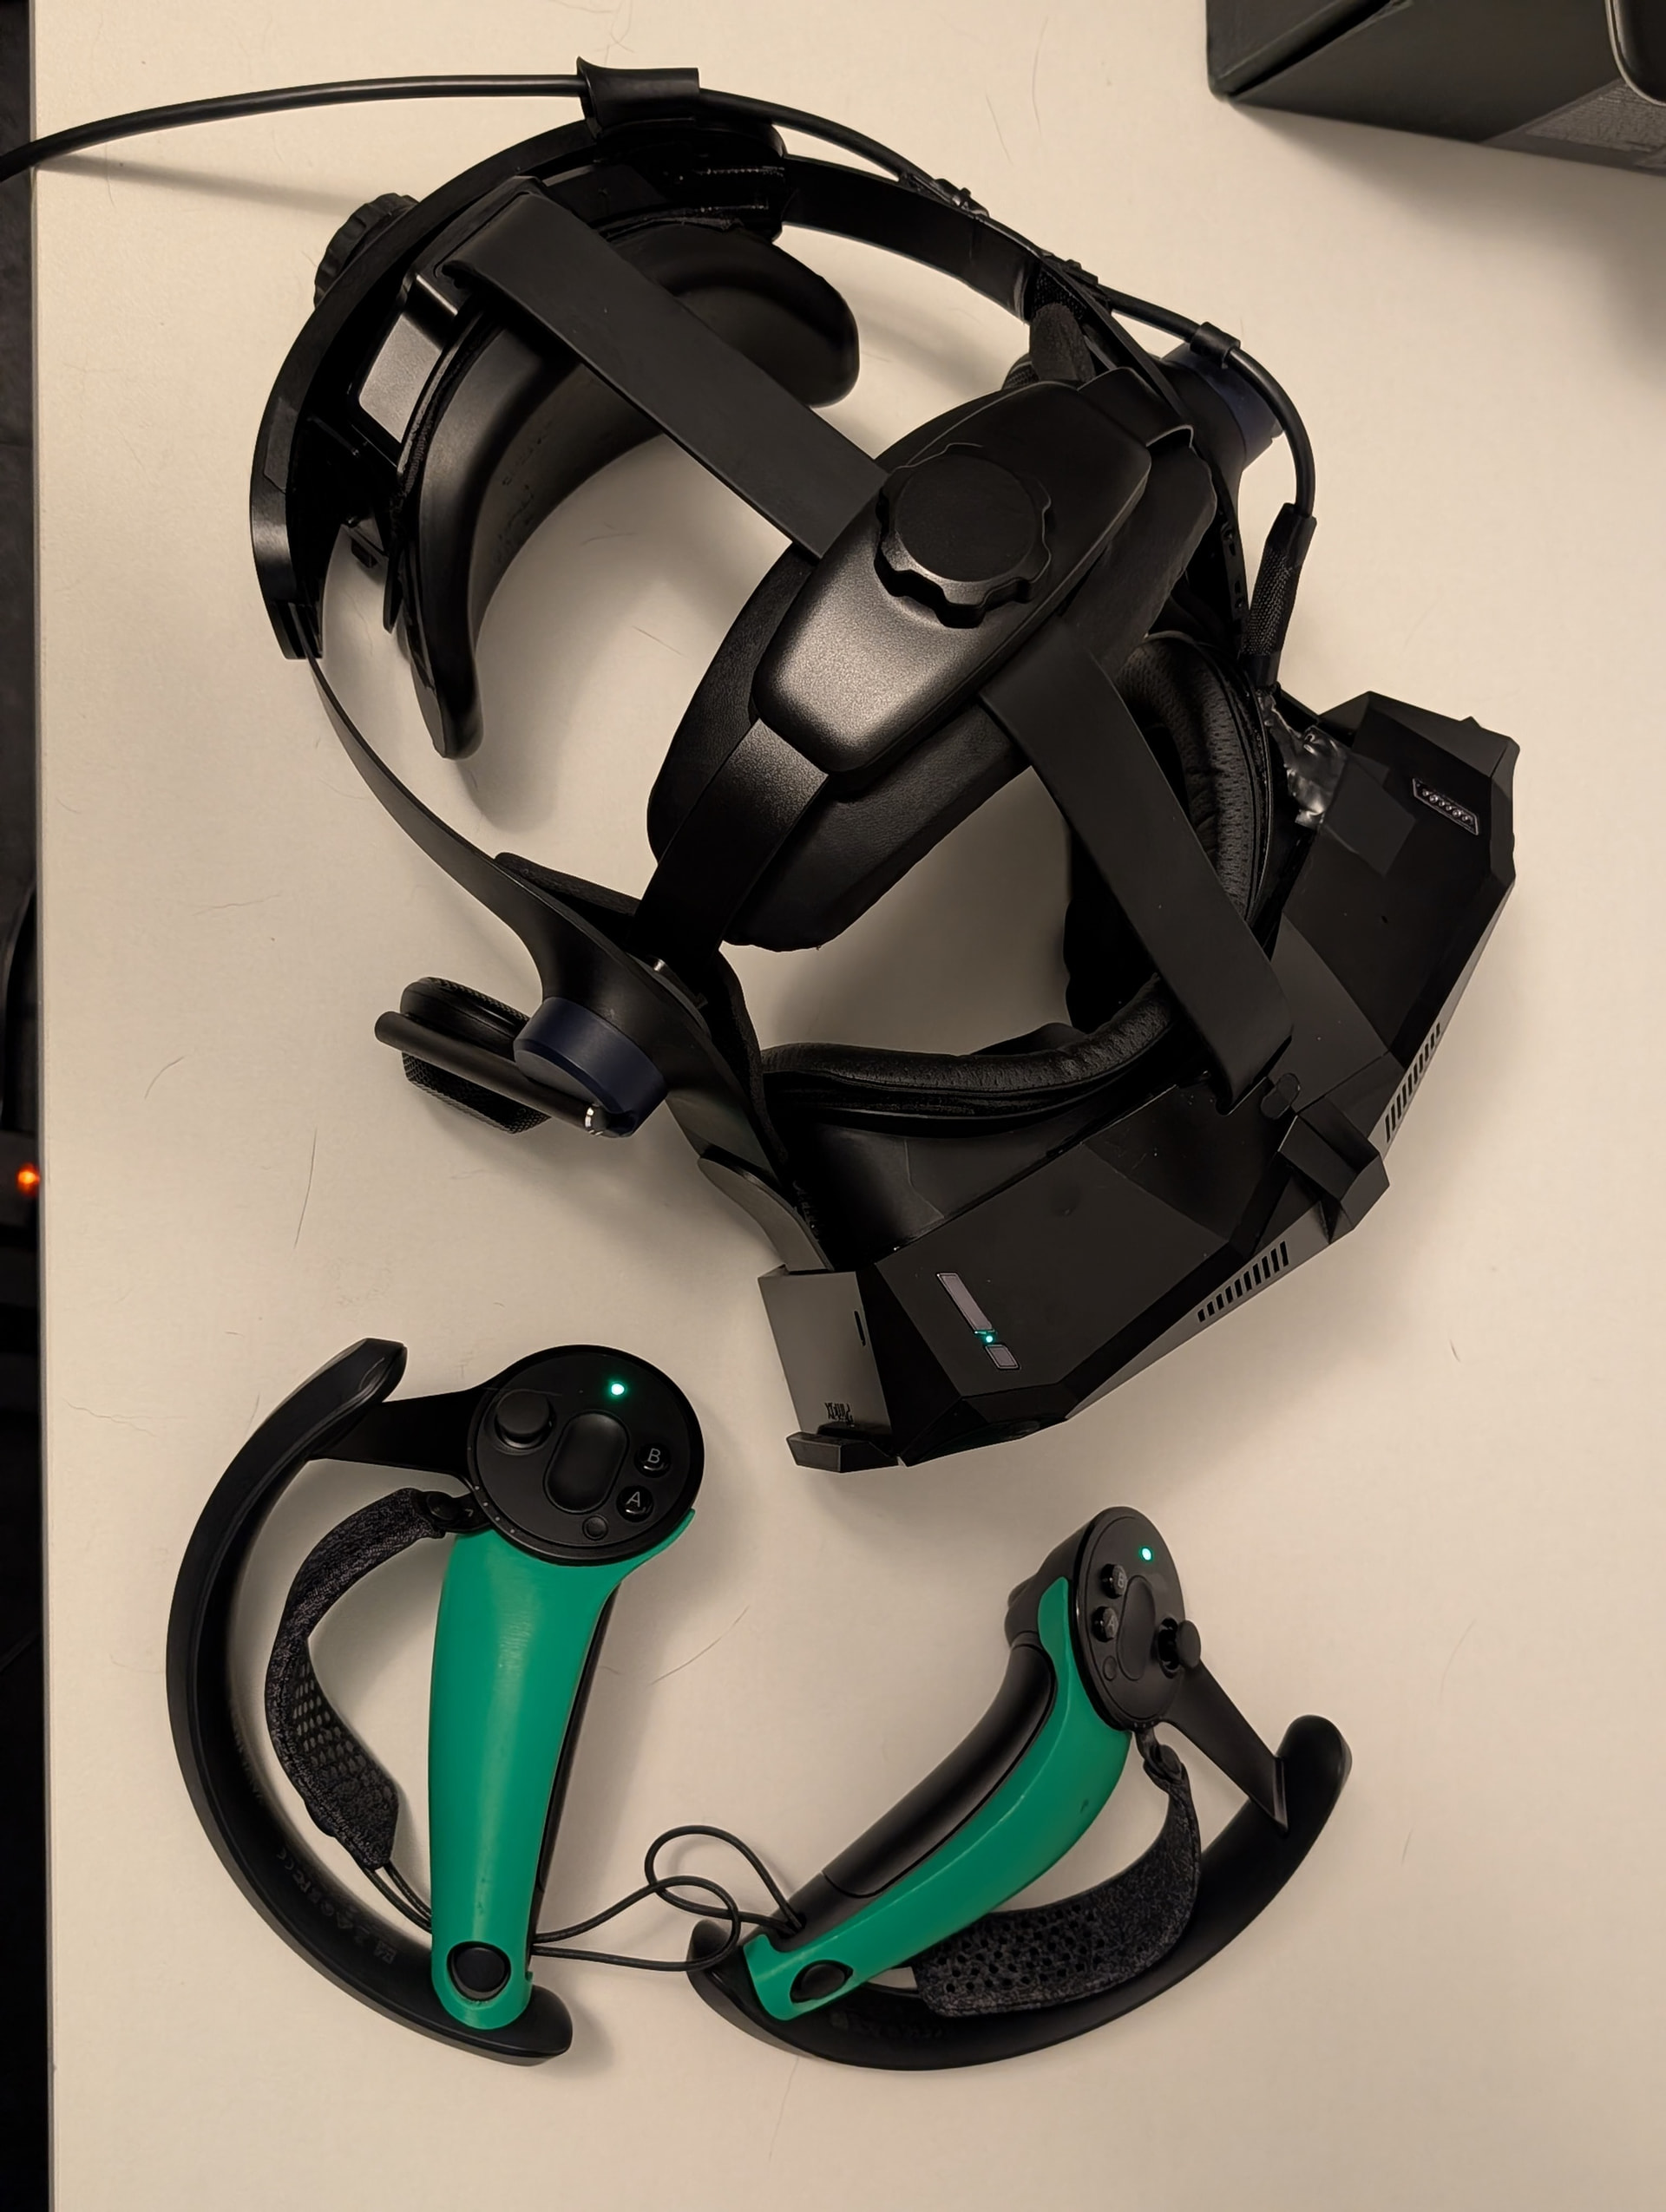
Ensure your Lighthouse Faceplate is installed.
-
Open Pimax Play and navigate to Device Settings. Manually switch the tracking mode to “Lighthouse.”